TRAILER LIGHTS INSTALLATIONS AND REPAIR
Call now for a quote or consultation
352-572-1090
CALL ANYTIME FOR A FREE QUOTE
352-572-1090
Robby Billings
If you would like to ask questions, set up an appointment, or would like to leave feedback please send us an email now.
THE TRAILER LIGHTS
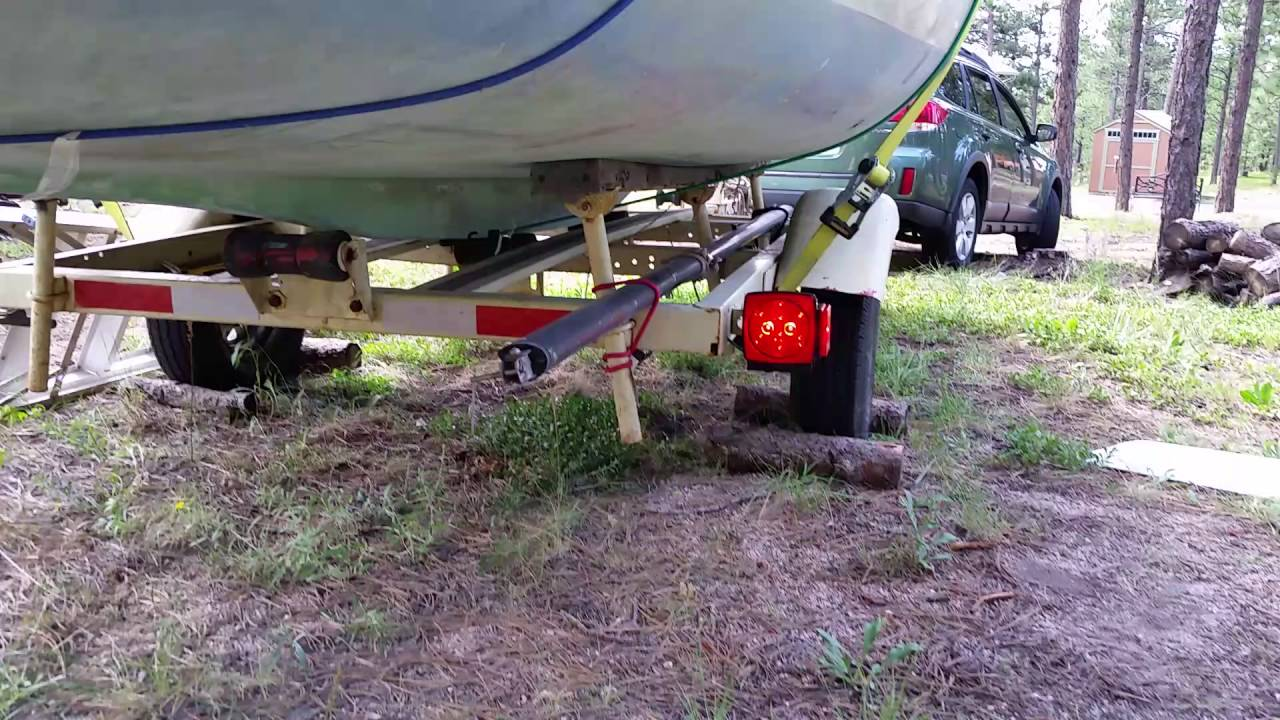
It might look like its possible until you make that one mistake.

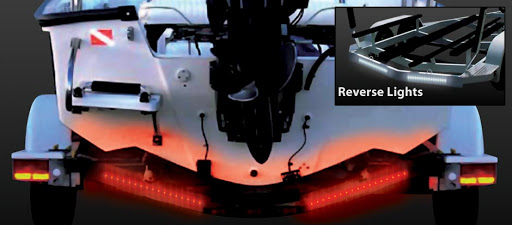
Be sure to test 1. Turn Signals, 2. Brake Lights, 3. Reverse Lights
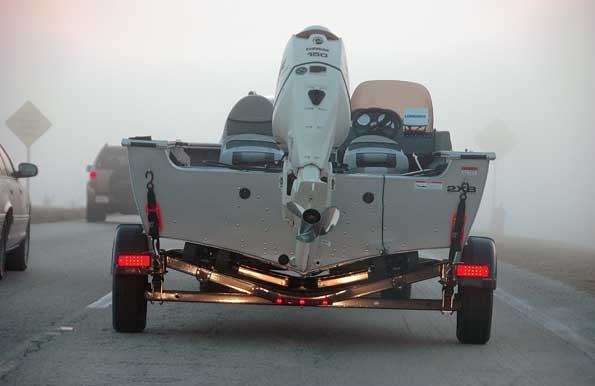
It’s just not always that obvious or simple
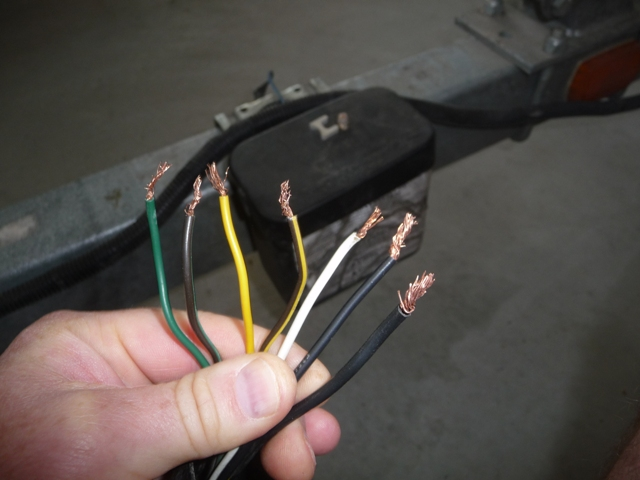
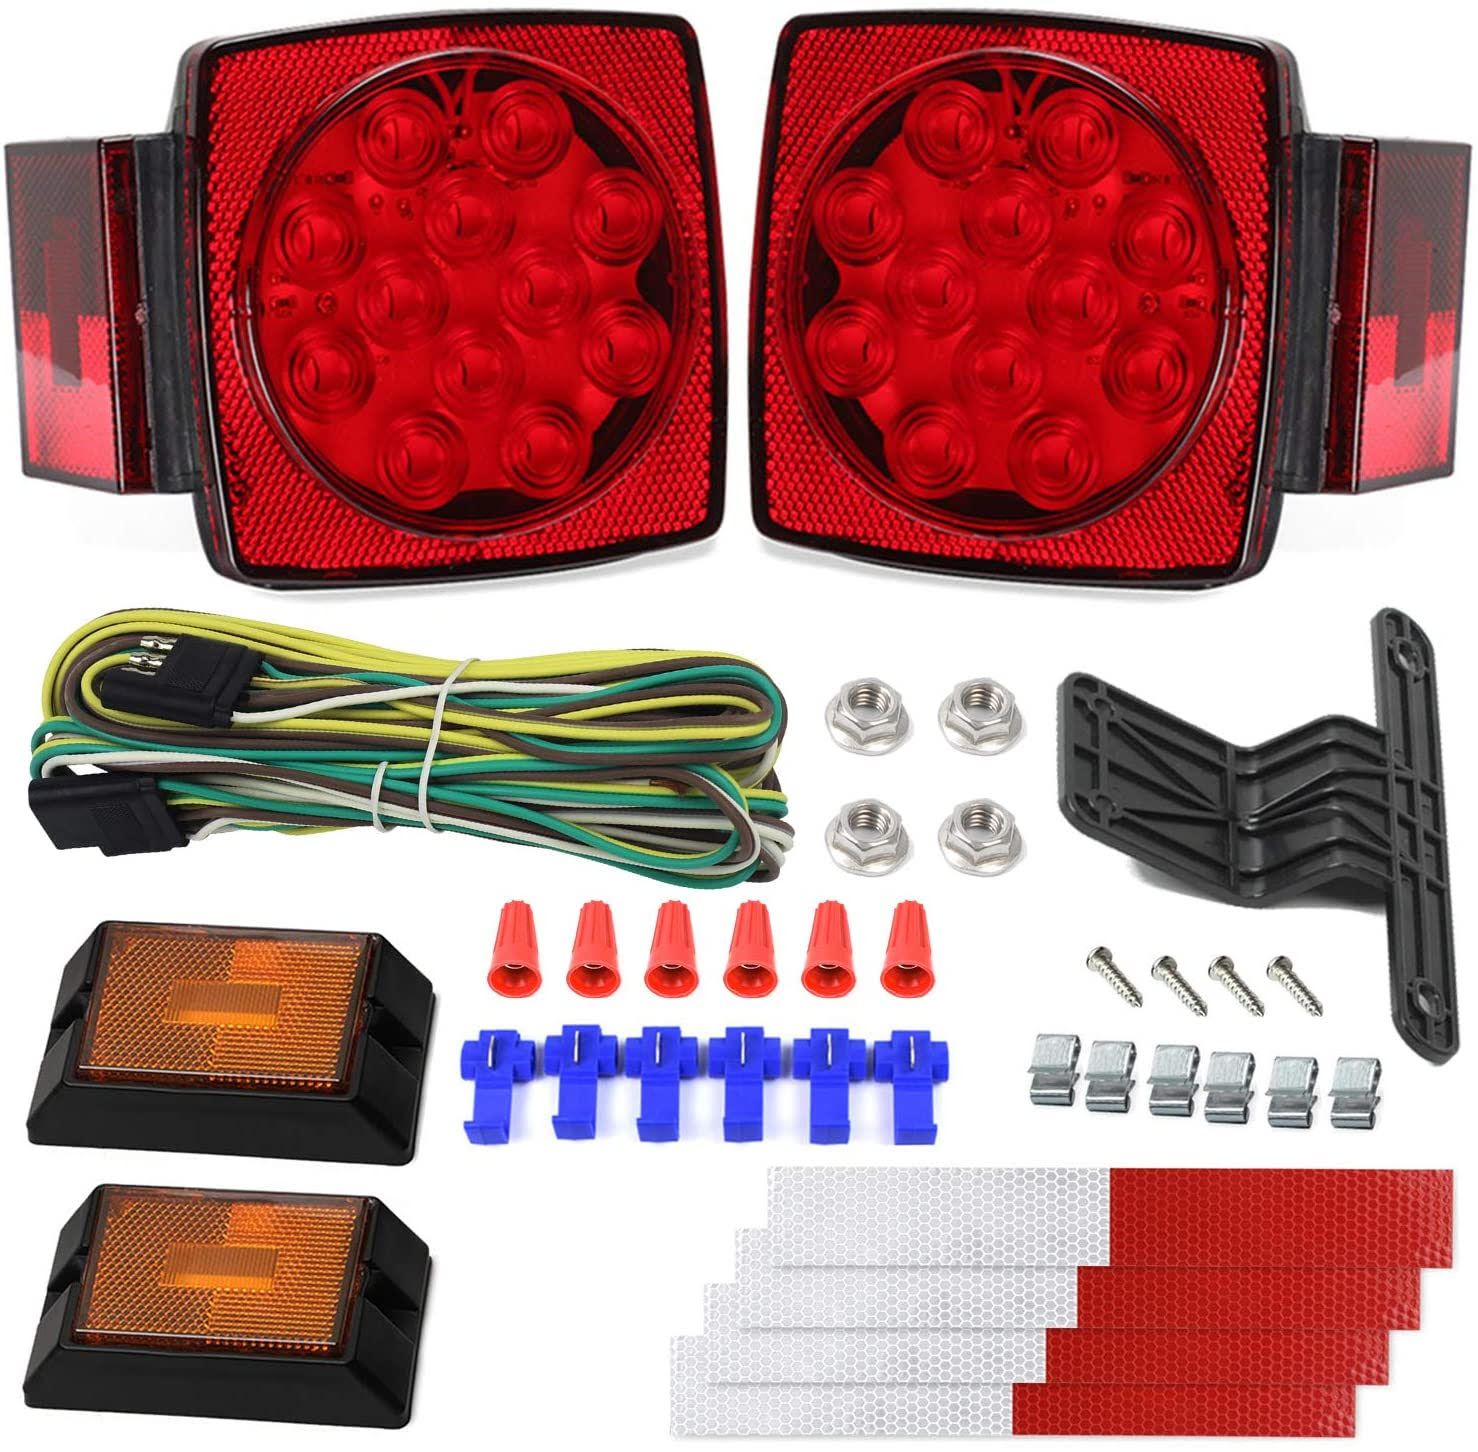
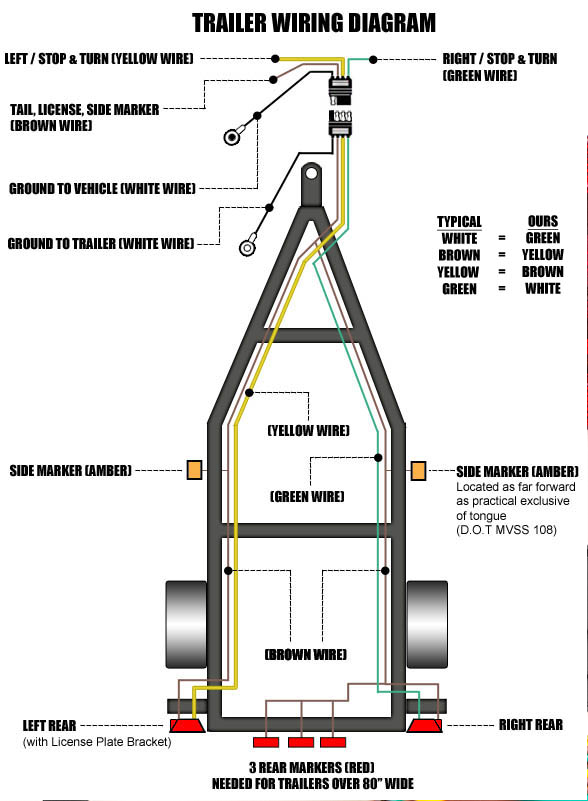
The minimal components
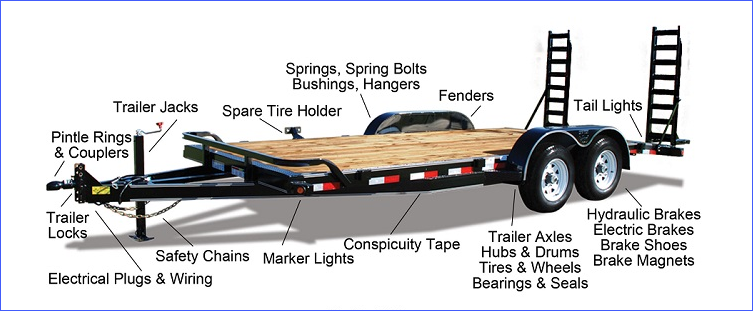
For all your Trailer Repair Needs, Call 352-272-1090 and ask Robby Billings
How to Repair or Install Trailer Wiring

If you’re installing a trailer hitch on your car or truck, you’re going to need a plug for the trailer lights. Trailer wiring can be very, very frustrating. If you’ve ever found yourself in a Walmart parking lot, in the dark, in the rain, trying to fix your trailer wiring with flashlights you know how much fun it can be. If you’ve got bad wiring, now’s the time to run some new wires, not when you find yourself in a pinch. Whether it’s a new installation or a repair job, we can help you with your trailer lights, wiring, and installation.
Please note: this is a basic installation, and all jobs are a little different. If you’re installing a larger trailer with electric brakes, you’ll need a brake controller, which will involve some wiring to be done under the dash.
If you like to keep tabs on all of your trailer wiring functions like electric brakes, brake lights, turn signal flashers, and running lights you might consider buying a trailer plug tester. They make these testers for small and large wiring plugs and they really make troubleshooting your trailer wiring much easier!
You’re almost done! The only thing to do now is test your new wiring at the critical point — the trailer connector. Get your buddy to pitch in again, and go through the lights one by one, checking to be sure there is a signal at the trailer connector. If you get a light every time, you’re done! Now you can put your tail lights back.
If one of your circuits doesn’t seem to be working, go back and check the connection to be sure. If the connection seems good, check the fuse. Sometimes you can blow a fuse without even knowing it.
Step 1: Removing Your Tail Light
Locate and remove all the bulb holders from the back of the lamp assembly by rotating counterclockwise. Pull out any defective light bulbs now.

Step 2: Test Your Wiring

Before you can get any trailer lights working, you’ll need to know what wire does what. You don’t want your left turn signal to be your right or your brake lights to be your running lights. If you have a good repair manual, and you should, you can use the wiring diagrams inside to find the correct wire for your trailer wiring. Even if you have it all figured out, it’s a good idea to test it before you make any new installations. There’s nothing worse than going back and undoing, then redoing work because you didn’t do any testing beforehand.
It helps to have a helper at this point, somebody who can turn lights on and off for you, or push the brake pedal. Get out your regular old test light and put the clamp end on a good grounding point. Now take the sharp end and pierce one of the wires going into the back of the tail light. Test it by having your helper turn on the lights, left turn signal, right turn signal, brake lights, reverse lights until the test light illuminates. When it does, you know what wire it is. Make a note and move to the next wire until you have them all figured out.
Note: If this is a new installation of trailer wiring and lights, you’ll need to remove the tail light from the other side of the vehicle so you can tap into the turn signal wire for that side, too. You’ll also need to locate the ground wire or attach a suitable ground wire to the chassis of the truck.
Step 3: Tapping Into the Wires
To divert electrical flow to the trailer wiring harness from your tail light wiring, you’ll need to tap into the wire. We recommend using something called a “Scotch lock” to do the trick because it’s easy and reliable, but you can also cut the wire and splice in a new connection.
Once you’ve identified your wires, slide the factory wire into the side of the Scotch lock that goes all the way through. Next, slide the end of your new trailer wiring wire into the end of the Scotch lock that stops halfway. Push them lightly into place so they don’t slip.

Step 4: Locking the Scotch Lock
If you used a Scotch lock to secure your trailer wiring splices, you’re ready to lock it in place. Be sure both your factory and trailer wiring wires are still where you want them, then fold the top of the Scotch lock over and press it tightly together with pliers. This drives the metal connector into place inside so nothing can slip and everything makes a good connection.
Finally, fold the outer clip over on the Scotch lock and snap it into place.
Repeat these steps until you have installed the wires for all aspects of your trailer lighting. Remember to keep your work neat and tidy.

Step 5: Final Testing of Your Trailer Wiring

You’re almost done! The only thing to do now is to test your new wiring at the critical point — the trailer connector. Get your buddy to pitch in again, and go through the lights one by one, checking to be sure there is a signal at the trailer connector. If you get a light every time, you’re done! Now you can put your tail lights back.
If one of your circuits doesn’t seem to be working, go back and check the connection to be sure. If the connection seems good, check the fuse. Sometimes you can blow a fuse without even knowing it.
We are available in the following areas:
- Ocala
- Gainesville
- Silver Springs Shores
- Marion Oaks
- Summerfield
- Fellowship
- Emathia
- Anthony
- Sparr
- Reddick
- Fort McCoy
- Citra
- Orange Lake
- Micanopy
- The Villages
- Orange Springs
- Williston
- Morriston
- Belleview
- Donnellon
- Crystal River
- Cedar Key
CALL ANYTIME FOR A FREE QUOTE
352-572-1090
Robby Billings
If you would like to ask questions, set up an appointment, or would like to leave feedback please send us an email now.


![bigstock-Vector-set-of---guarantee-g-15641318 [Converted] RB Hitch Installations Marion Oaks](https://rbhitchofocala.com/wp-content/uploads/2020/08/bigstock-Vector-set-of-guarantee-g-15641318-Converted.png)
