SMALL WELDING JOBS & WELDING REPAIRS
Call now for a quote or consultatino
352-572-1090
CALL ANYTIME FOR A FREE QUOTE
352-572-1090
Robby Billings
If you would like to ask questions, set up an appointment, or would like to leave feedback please send us an email now.
Male in face mask welds with argon-arc welding in the body
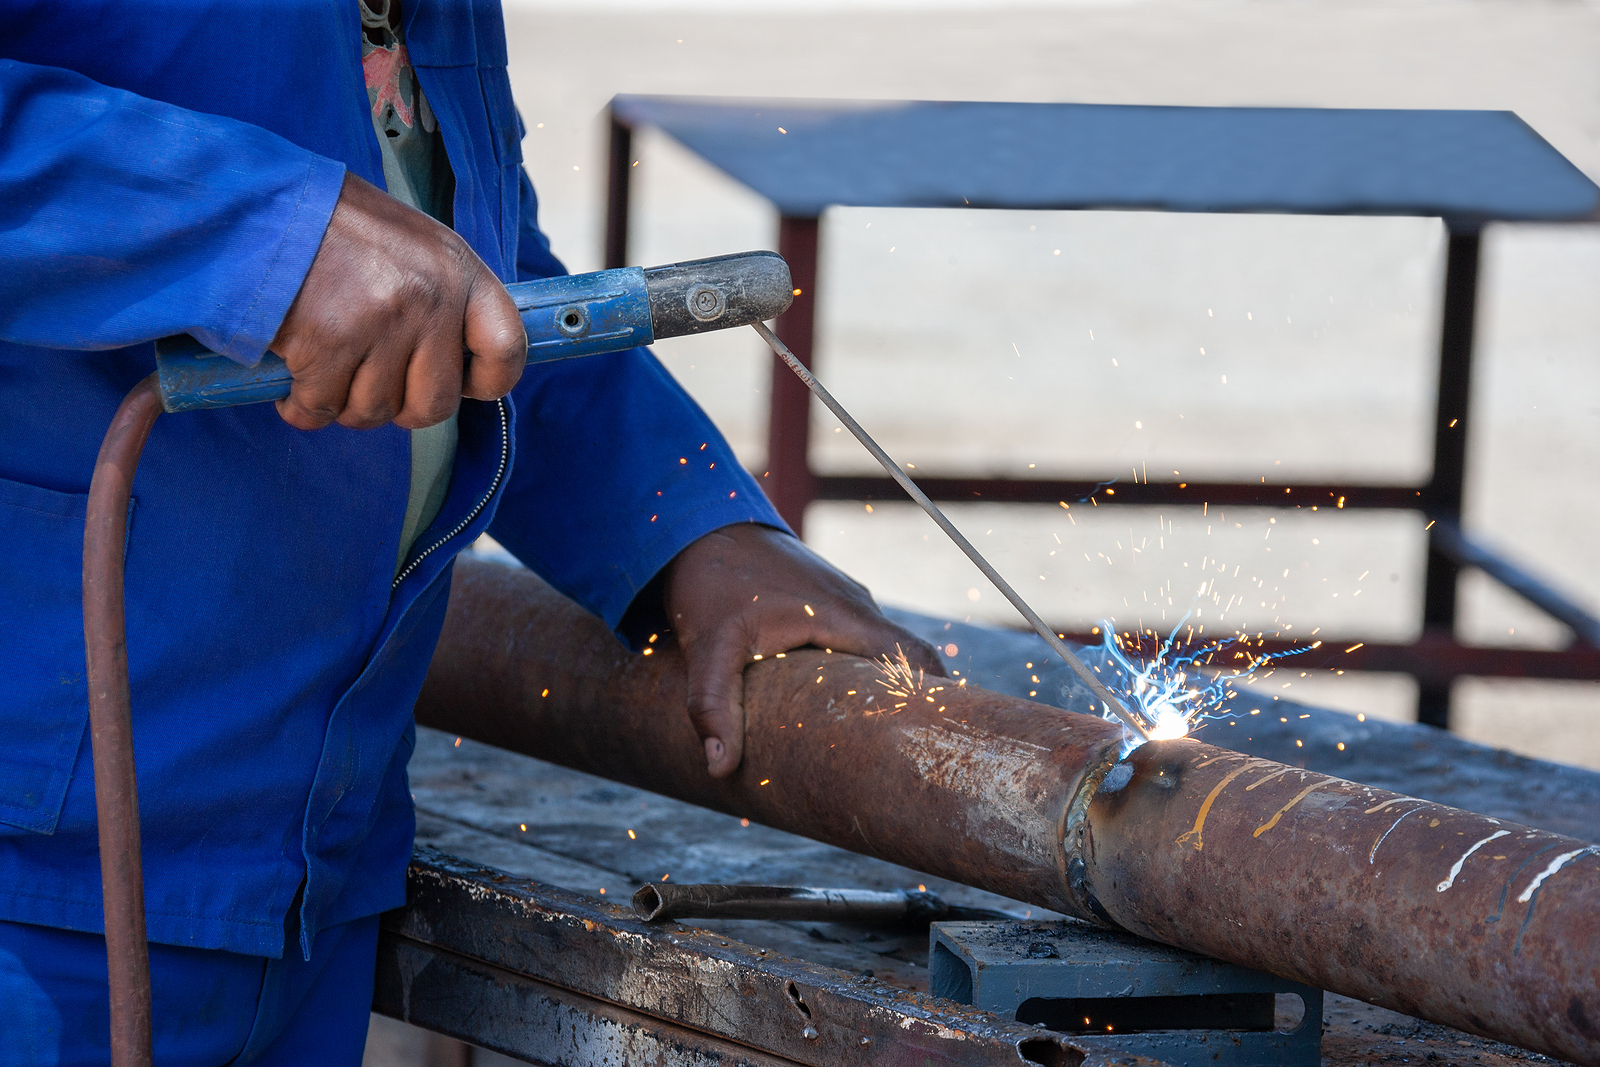
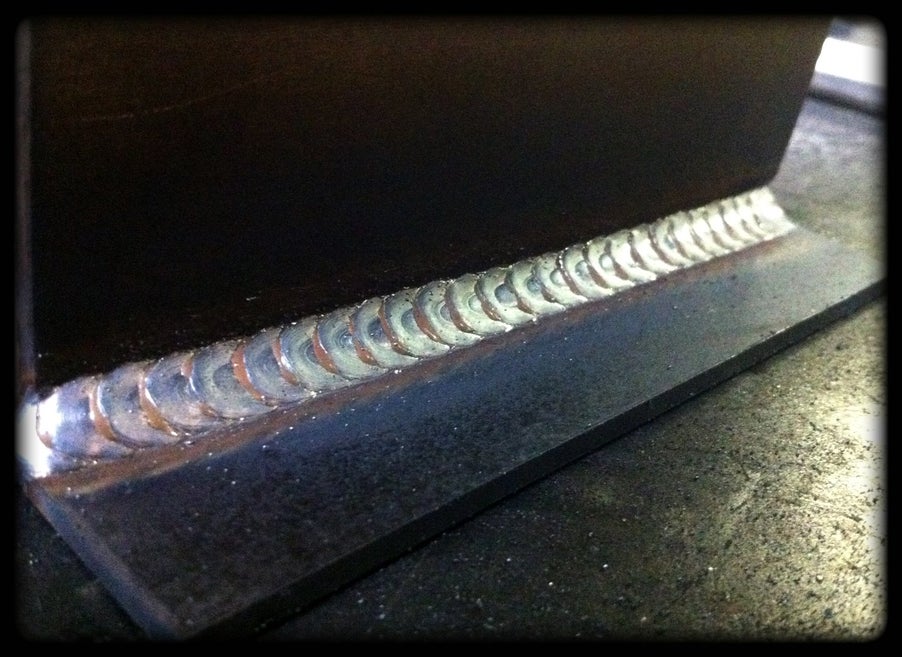
Welding has many applications in the construction industry but the average homeowner can have multiple uses for welding as well. One area welding is used frequently outside of construction is back-yard-mechanics and the Off-Road community. Personally, I weld quite frequently on my 4×4. Everything from fabricating bumpers, shock/motor mounts, roll-cages, and various repairs. So, for our purposes, I am giving directions on how to select equipment, material, fit, tack, and weld plate steel. This can be an especially handy skill when building a custom bumper for your off-road vehicle. So we will demonstrate welding 3/16″-1/4″ plate steel.
Step 1: Equipment: Welder
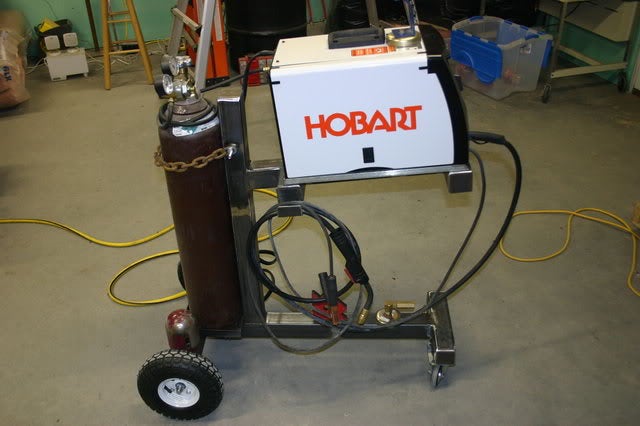
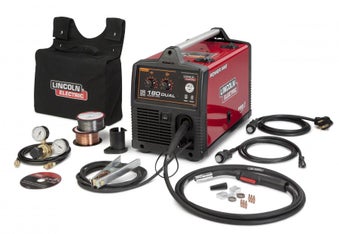
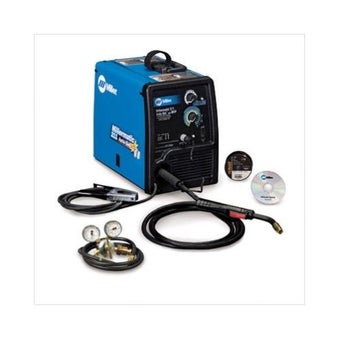
The first thing you need to weld is a welder. There are many different styles and types of welders, but for our purposes we will be focusing on 110volt MIG/GMAW (Metal Inert Gas or Gas Metal Arc Welding). This is most commonly referred to as a “wire-feed” welder. I have selected the 110v because the thickness of material will not exceed 3/8″. There are multiple manufactures of welders, but there are three brands that are top of the field and they are: Lincoln, Miller, and Hobart. The Lincoln brand welders are the most easily accessible in an average home improvement store. If you want a Miller or Hobart you will have to seek out your local welding supply company. This is the route I would suggest as the welders supply will have a better knowledge base and more variety of products. The best tip I can give for anyone selecting a welder is to consider what you will be welding the most and find a welding machine that’s has the appropriate capabilities. One of the most important features is the ability to run solid wire with a shield gas or run a flux core wire. Solid wire uses solid welding wire with a shield gas that comes in a tank that gets hooked up to the welder via a regulator. The flux core wire has the shield gas in the “mixture” of the flux contained within the center of the wire. It is important to note solid wire with a shield gas produces a much cleaner product.
I will be using the Hobart Handler 140 with solid wire and shield gas. The shield gas is a mixture 20% Argon 80% C02. This is a standard mix for mild steel and is available at your local welding supply store.
Cost for the Welder is roughly 500-800 with your shield gas bottle.
Step 2: Welding Hood
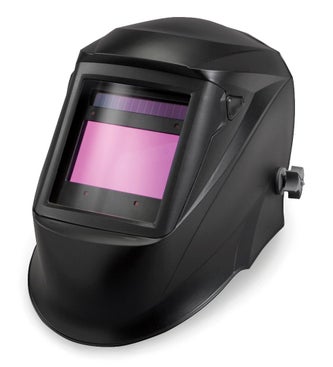
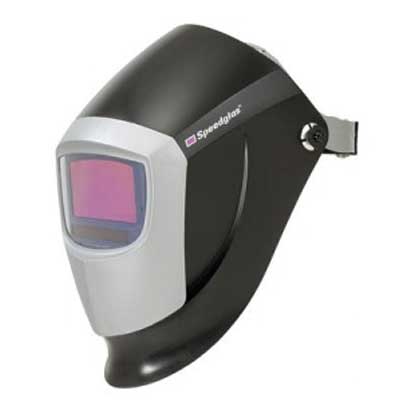
This is one area where you might be able to save some money. When welding the welding spark is as bright as the sun, so eye protection is a must. Welders wear what’s called a welding hood. These come in a very basic, inexpensive models with one dark lens to auto-darkening hoods that are very expensive. Again this is a personal choice and depends on how much welding you will be doing and you over all budget. I use a higher end “Speed Glass Hood” but this is not necessary, I learned how to weld with a single shade hood and I still have it.
Step 3: Hand Tools
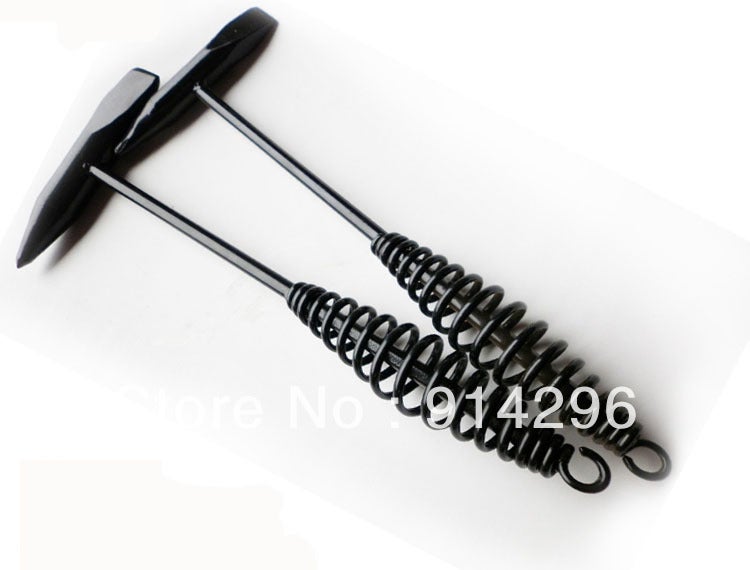
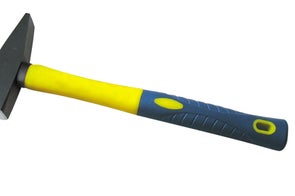
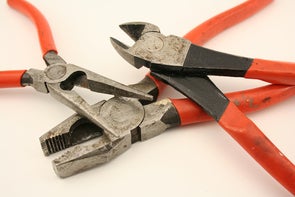
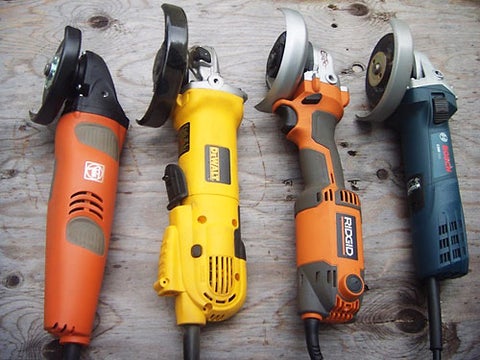
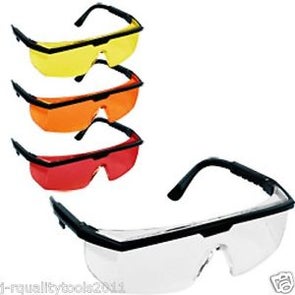
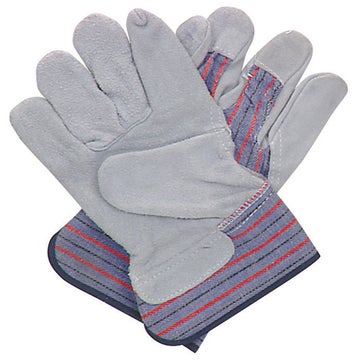
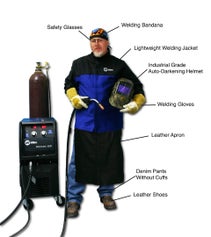
Most of the hand tools you will need to complete a welding project can be found within a standard homeowner’s garage tool kit. These items include a hammer (s)(a standard “Claw-Hammer” that most everyone has will work however I would recommend having two hammers 1) a “Slag-Hammer” & 2) A 4-8lb mini-sled hammer, a pair of“Wire-Dykes/Linesman Pliers“(if neither of these types of pliers is handy a set of “Needle-NosePliers should be ok too), clear or amber safety goggles, leather gloves, and a magnetic level. You may also consider hearing protection of some kind as hammering on steel can quickly become very loud.
There is one hand tool required for this type of project that a typical homeowner will probably not have on hand is a 4” Right Angle Grinder. One can acquire a grinder at just about any larger home improvement store such as Lowes or Home Depot. Again, like any type of tool, there are several manufactures of Angle Grinders. The best way to select a grinder is to take budget into consideration, once you’ve found a couple in your price range pick each one of them up and test how it feels in your hand. You will find yourself using this tool more than you would like to, so how it feels in your hand is very important. This little guy is the welder’s best friend.
Step 4: Material Choice
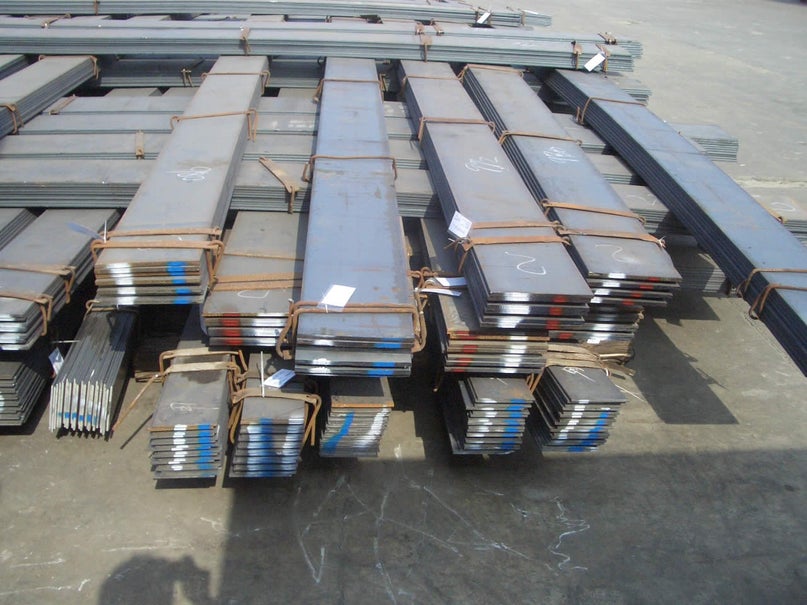
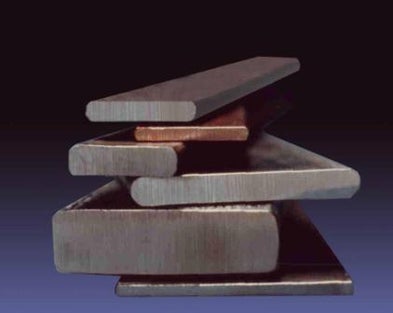
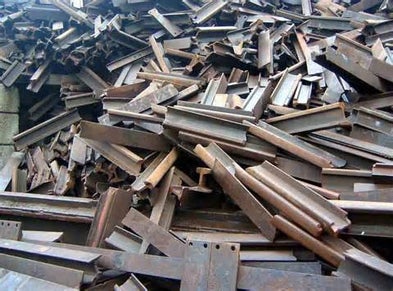
Steel comes in all different shapes and sizes. For our purposes, we will be using a flat bar to demonstrate welding. With the particular machine, we are using the material can be no thicker than 3/8 of an inch. You can use what you have at your disposal or whatever you need to repair. If you need material some can be found at home-improvement/ hardware stores, they will have some different steel materials, or a steel supplier they will have almost anything, you could also try a metal scrap yard.
Step 5: Material Prep
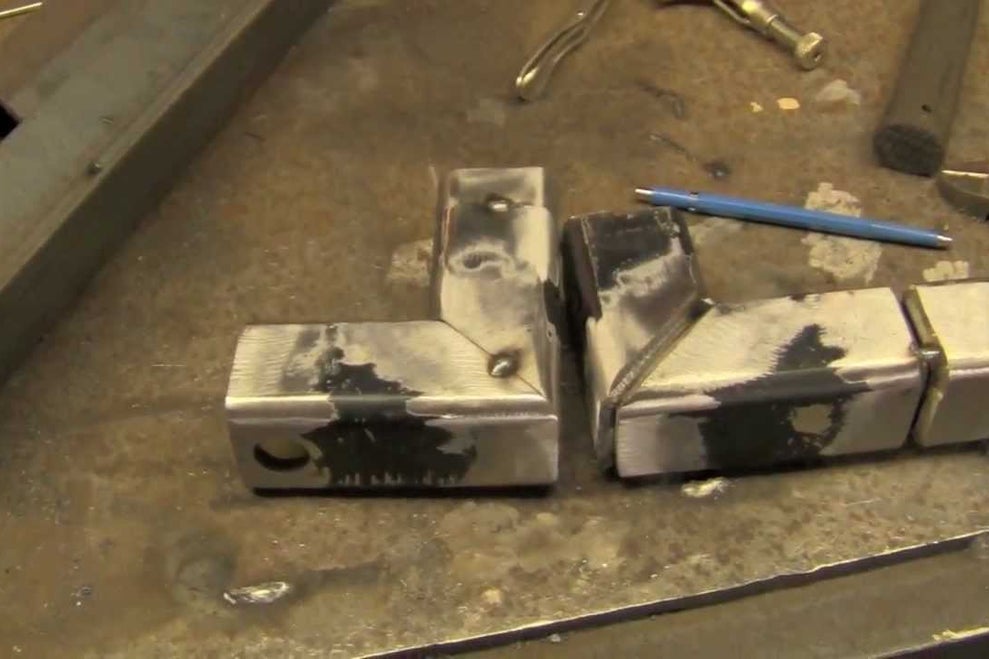
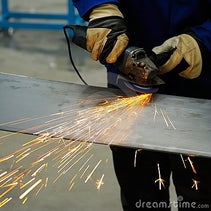
One of the key elements to a successful strong MIG weld is the material preparation. You want to make sure the surface of your material is clean and dry. If there is any paint on or near the weld area it needs to be cleaned off as much as possible. The reason is, paint melts and burns when you weld over it, and as it burns it creates cavities within the metal which can be potential failure points. If you have purchased your steel new it will have a lite oil coating, this can be wiped off with a rag and some paint thinner. A clean prepped surface is very important for the strength of the weld. The fastest and easiest way to accomplish this for painted metal is to use an angle grinder. If you don’t have access to one, grinders can be purchased at virtually any hardware store. You may also be able to use a piece of sandpaper, just depends on how clean or dirty your metal is to start.
Another preparatory step you can take to insure stronger welds is to bevel one or both sides of the parent metals of your weld joint. The AWS (American Welding Society) recommends 60 degrees of bevel prep. For our purposes a 45-degree bevel on one edge is usually sufficient, however, with a “Butt-Weld” (Two pieces end-to-end) you may want to consider beveling both joint edges. If there is a gap between the two metals it is considered a “JCP” or “Full-Pen” weld (Complete Joint Penetration or Full Penetration). The AWS (American Welding Society) recommends somewhere between 60-70 degree weld prep for CLP’s depending on the thickness of material etc. Since we won’t be welding anything over 3/8″ thick a 45-degree bevel prep will be plenty. If there is a gap in your joint you may consider using a “Backing/Back-up Bar”. Two common Backer Bar materials are either ceramic or copper, and are used to help hold your filler metal allowing you to make the necessary “Root-Pass or pass’s” (First pass) to build your weld joint up. (NOTE: The ceramic is much cheaper and easier to find at your local welding supply store.)
Be sure to use your safety gear from this step forward including safety glasses, leather gloves, and hearing protection.
6. How to MIG Weld & MIG Welding Tips- Getting The Perfect Weld Every Time.
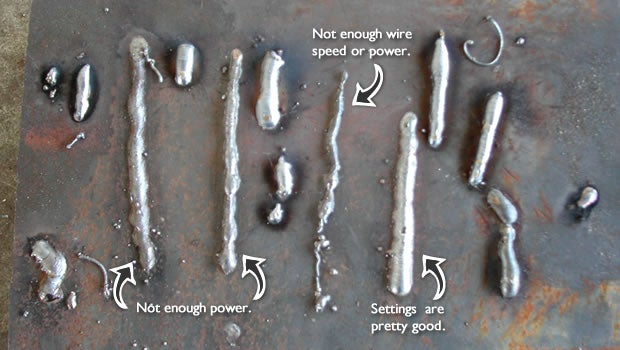
Before welding on the material that is to be your finished product. I would suggest taking some scrap steel of similar thickness to your project metal and practice with material that you don’t care about. It is also a good idea to take you wire-cutters and nip off the end of your wire after you stop a weld. Adjust the welder’s settings until your weld looks correct, this includes your shield gas flow (if you choose to use a solid-core wire). Industry standards for a MIG welding gun nozzle with an inner diameter of 1/2″ is between 20-28 CFH (Cubic Feet per Hour) Practice on the scrap a few times to get the feel of how the welder is running. When you power, wire speed, and travel speed are all in line you welding will make a sound similar to cooking bacon, a nice steady sizzle. Too bad it doesn’t smell like bacon.
I have included two videos that will help explain a little better.
Step 7: Fit and Tack
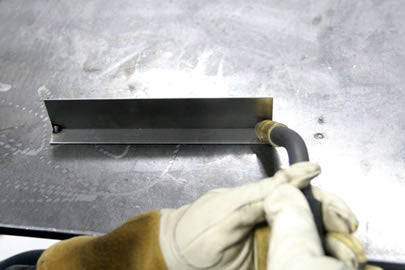
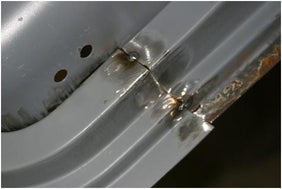
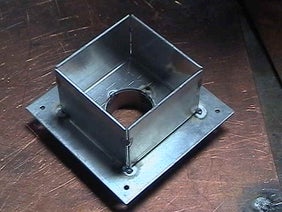
Now that we have all our equipment dialed in and material prepped its time to fit and tack it. To fit something is just like it sounds. Your testing to make sure everything fits together good (NOTE: the tighter the joint the better the weld penetration). Use your level to make sure all parts are square and true. If you find everything is fitting snugly, tack it. A Tack is just a small weld used to hold pieces of material in position until they can get final welding. To tack, place the tip of the welder about 1/2″ away from Joint/Material and give the trigger a squeeze for 1 to 2 seconds. The thickness of your material will dictate how big of tack necessary.
Now that you have your project tacked together its time to weld it out. (NOTE: Whenever possible try to weld in the most controlled environment you can. Variables such as wind and moisture can have adverse effects on weld quality). With the machine set to the correct heat, wire-feed, and gas flow you can start running your weld bead. Just like tacking you want to hold the welding tip about 1/2-3/4″ above the parent material and begin moving the weld gun along your joint. When welding a 90-degree joint, angle your weld gun at about 45 degrees and aim the welding wire at the point the two pieces of the metal meet. When welding a butt-joint in the flat position aim your weld wire in the center of your joint. (If your Butt-Joint/JCP requires a backing bar aim your weld wire into one or the other parent metals, and build your root-pass off it that), So, now you in the correct position and the machine is set-up correctly, begin by squeezing the trigger and build your weld pool up. Once you weld is the desired size begin to drag or push your weld-pool along your joint. The travel speed of your weld (ing) is the main obstacle affecting the integrity of your weld. If your weld is too small, you may need to slow your travel speed and allow your puddle to build before moving forward. This assures you are achieving the correct weld size, as well as enough heat to make proper penetration. If you do find a weld isn’t to your satisfactory it’s ok, just take that handy little 4″ grinder we used during weld preparation, grind out your weld and try again.
Images Provided by Bing Images
Video Provided By YouTube
Source: Instructables
We are available in the following areas:
- Ocala
- Gainesville
- Silver Springs Shores
- Marion Oaks
- Summerfield
- Fellowship
- Emathia
- Anthony
- Sparr
- Reddick
- Fort McCoy
- Citra
- Orange Lake
- Micanopy
- The Villages
- Orange Springs
- Williston
- Morriston
- Belleview
- Donnellon
- Crystal River
- Cedar Key
CALL ANYTIME FOR A FREE QUOTE
352-572-1090
Robby Billings
If you would like to ask questions, set up an appointment, or would like to leave feedback please send us an email now.


![bigstock-Vector-set-of---guarantee-g-15641318 [Converted] RB Hitch Installations Marion Oaks](https://rbhitchofocala.com/wp-content/uploads/2020/08/bigstock-Vector-set-of-guarantee-g-15641318-Converted.png)
